

Racquet & hockey grip fitting instructions
Need any help with fitting your new Raquex grip? You'll find easy to follow instructions for your racquet or hockey grip here.
Find your guideChoose your grip type below
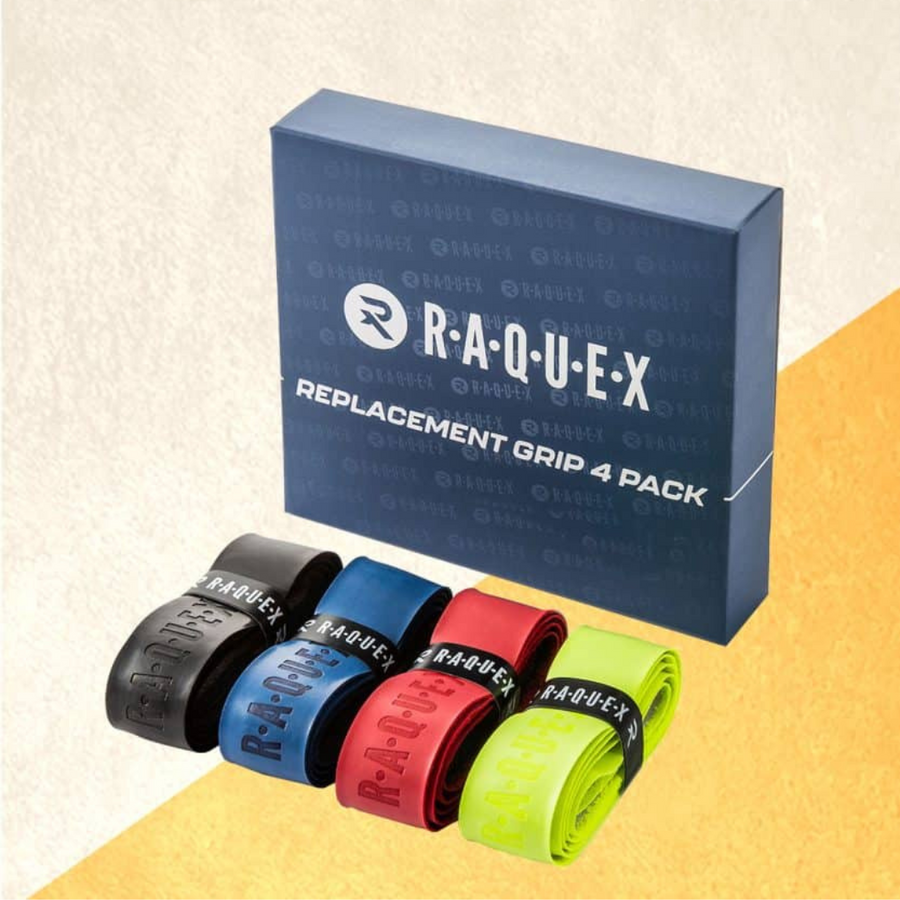
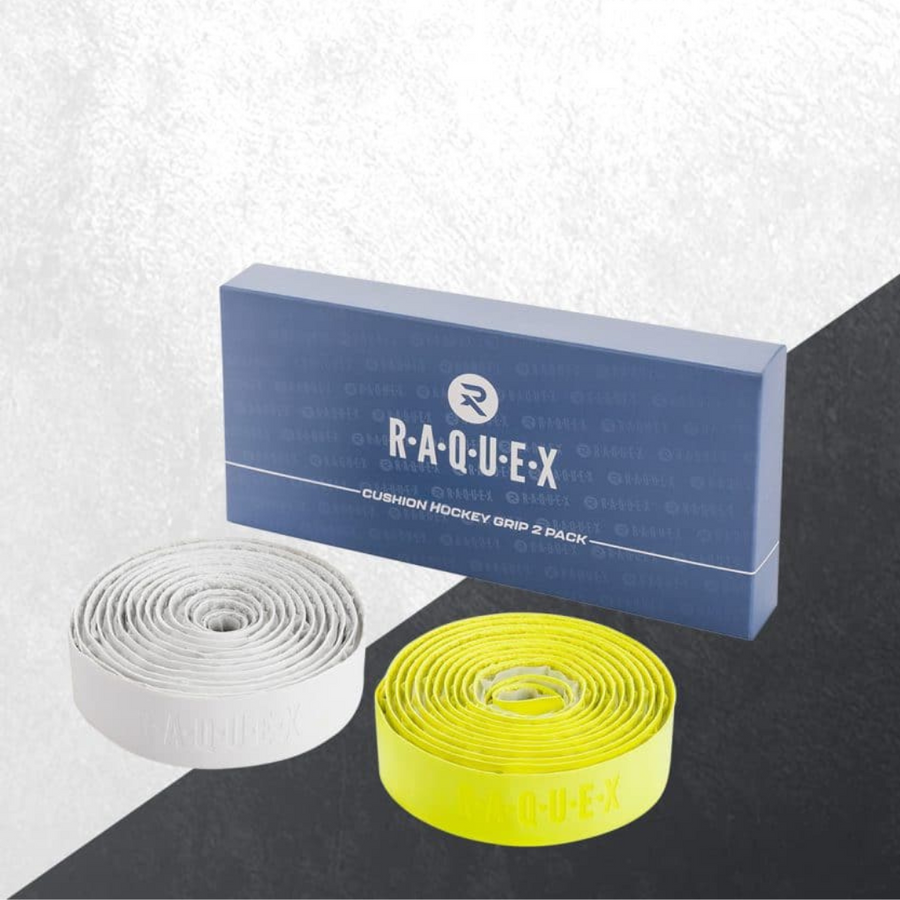
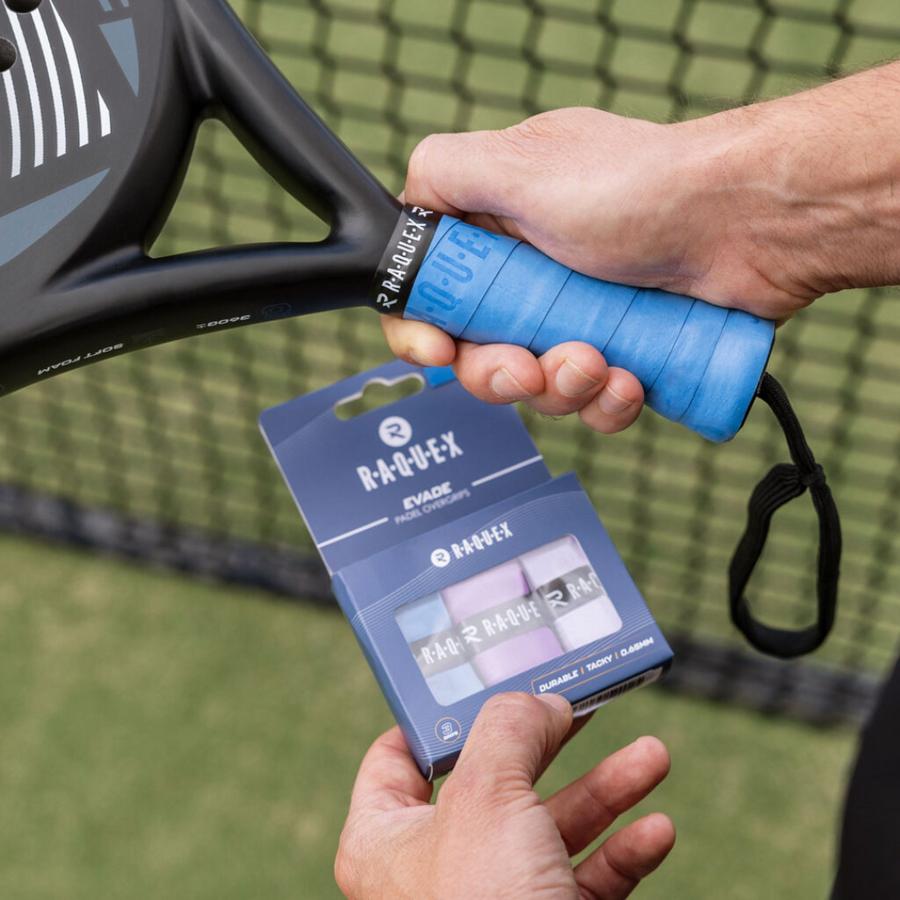
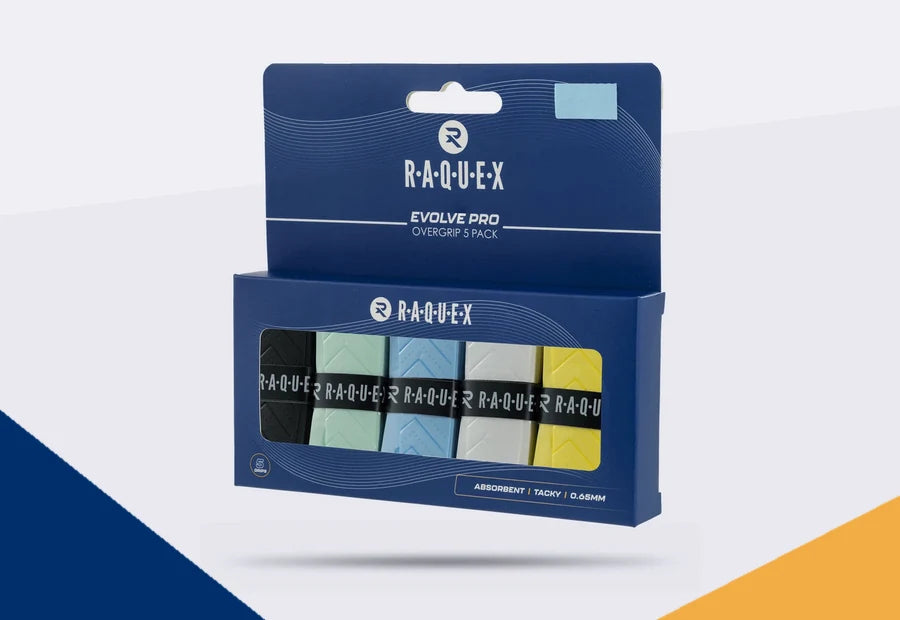

Racquet replacement grip
- Remove any existing grips from the handle
- Unwind your new Raquex grip to find the tapered end with "Start" marked on it
- Peel back roughly 6 inches of the sticky tape protective paper
- Place the tapered end of the grip on the base of your racquet's handle
- Wind the grip tightly around your handle in a anti-clockwise direction, peeling back the protective paper as you go along
- Keep the spacing even. We recommend using the Raquex logo as a guide to how spaced your grip should be*
- There's plenty of length with our grips. If you have any excess at the top of the handle, simply use some sharp scissors to make an angled cut to remove the excess
- Use the included Raquex finishing tape to create a seal around the top edge of the grip
- Get on court and enjoy your game!
*Keep each wind just above the logo as seen in the diagram. Wind the grip tighter if you prefer a slightly chunkier feel.

Hockey cushion grip
- Remove any existing grips from the handle
- Unravel the grip to get to the end in the centre – You'll see a tapered edge on the bottom right of the grip, with the Raquex logo facing you
- Peel back some of the sticky tape protection from the tapered end of the grip*
- Place the tapered end of the grip on the base of your hockey stick handle
- Wind the grip tightly around the stick in an anti-clockwise direction
- Keep the spacing even. We recommend using the Raquex logo as a guide to how spaced your grip should be**
- Keep wrapping the grip past the end cap at the top of your stick's handle
- Use sharp scissors or a Stanley knife to cut a straight edge along the top of the end cap
- Use the black Raquex finishing tape included to secure the end in place and tidy the edge you just cut. Now get on the pitch and enjoy your grip!
*We recommend not peeling all of it off, but unpeel it as you wind the grip around your handle. **Keep each wind just above the logo as seen in the diagram. Wind the grip tighter if you prefer a slightly chunkier feel.

Evade Pro & Endure Pro padel overgrip
- Carefully remove the thin, black finishing tape – you'll need this later
- Unwind your new Raquex grip to find the tapered end with "Start" marked on it
- Remove the white protective paper from the small self-adhesive strip on the rear of the Start end. Be careful not to remove the self-adhesive strip itself, only the paper
- Place the Start end on the base of your racquet's handle, with the Start facing outwards
- Wind the grip tightly around your handle in a anti-clockwise direction, peeling back the outer protective film as you go along
- Keep the spacing even. We recommend using the Raquex logo as a guide to how spaced your grip should be*
- If you have any excess at the top of the handle, use some sharp scissors to make an angled cut to length
- Use the included Raquex finishing tape to create a seal around the top edge of the grip. Now get on court and enjoy your game!
*Keep each wind just above the logo as seen in the diagram. These steps apply to both the Evade Pro and the Endure Pro padel overgrip.

Racquet overgrip
- Carefully remove the thin, black finishing tape – you'll need this later
- Unwind your new Raquex grip to find the tapered end with "Start" marked on it
- Remove the white protective paper from the small self-adhesive strip on the rear of the Start end. Be careful not to remove the self-adhesive strip itself, only the paper
- Place the Start end on the base of your racquet's handle, with the Start facing outwards
- Wind the grip tightly around your handle in a anti-clockwise direction, peeling back the outer protective film as you go along
- Keep the spacing even. We recommend using the Raquex logo as a guide to how spaced your grip should be*
- There's plenty of length with our grips. If you have any excess at the top of the handle, use some sharp scissors to make an angled cut to length
- Use the included Raquex finishing tape to create a seal around the top edge of the grip
- Get on court and enjoy your game!
*Keep each wind just above the logo as seen in the diagram. Wind the grip tighter if you prefer a slightly chunkier feel.

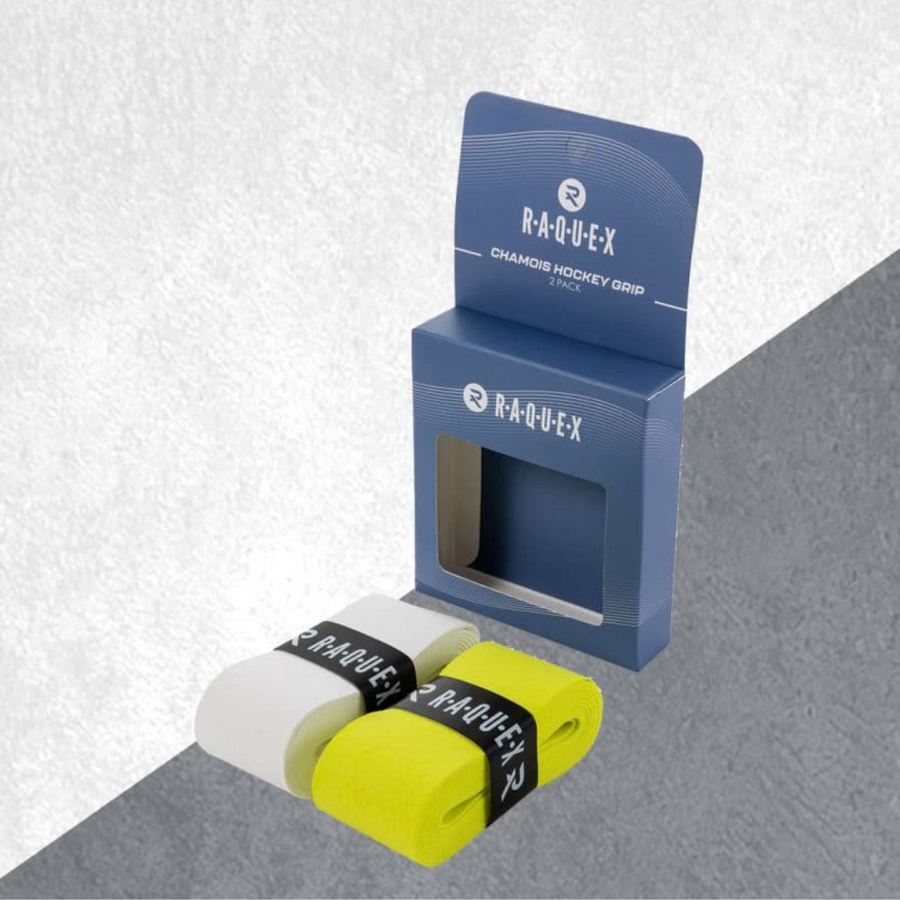
Chamois hockey grip
- Carefully remove the included black Raquex finishing tape
- Take one tapered end of the grip and hold it at the bottom of your stick's handle
- Hold the tapered edge with your thumb and tightly wrap the grip around the handle
- Overlap the grip slightly as you wind, all the way to the top
- Depending on the length of your handle you may need to cut an angle at the top
- Use the finishing tape to secure the top in place. The bottom can be held in place with Raquex cloth tape if desired
How to fit a Raquex racquet overgrip
The same steps, start to finish, in a couple of minutes.
Still stuck?
Send us a photo of your handle and we will talk you through it.